Tips for photographing the northern lights
Photographing the northern lights sounds like a tricky business, but it’s actually not that difficult. Most of the difficulty is in finding the lights in the first place, and remembering to bring a tripod. I'm no expert on night time photography, but during my trip I did learn a few things about taking pictures of the lights, and I thought someone might find it useful to hear what those things are.
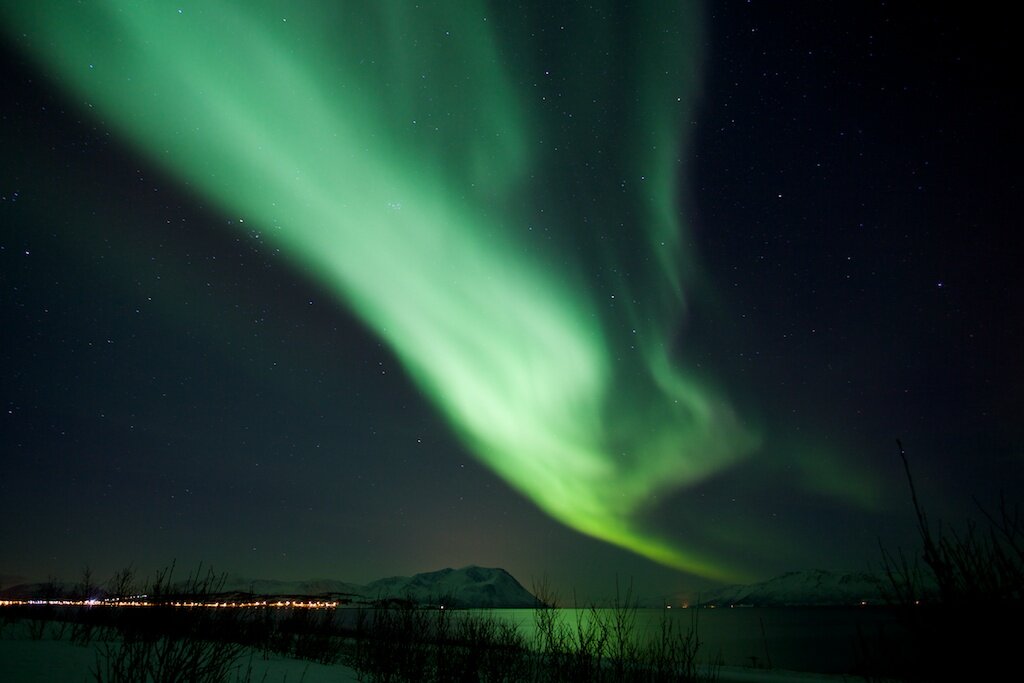
The aurora borealis over Arctic Norway, 1st February 2014.
Take the widest lens you have. The aurora borealis is one of the only times I have wished that the field of view of my own eyes was wider, let alone that of my camera lens. For my photos I used my widest lens (a Canon EF 17-40 mm f4) at 17 or 19 mm.
Remove any filter from the lens. Any filter, even a clear UV one, can apparently introduce nasty concentric rings to photos of the aurora. No filters!
Set up the camera before you head out. I set my camera to manual (M), the fastest aperture (f4 in my case), 30 second exposure, ISO auto, white balance auto, and large RAW output. Because I don’t have a remote shutter release I set my camera to self-timer on a 2 second delay, to avoid shaking the camera when I pushed the shutter. Using RAW output mode is important so that you can adjust the white-balance later.
Set the focus to infinity. The best way to do this is to focus on something far away during the day, then flick your lens to manual focus and leave it. I focussed at night by using autofocus on some lights in the distance then changing to manual focus. Remember that if you are using a zoom lens and you change the zoom level you will most likely need to refocus!
Go out and find the lights. This is the hardest step. Don’t forget your tripod.
Set up your tripod and, if you can, leave the camera on it when you move locations so it's faster to deploy.
Experiment with different exposures. All my pictures were 30 seconds at f4, but I can imagine that you might need a longer exposure if the lights were very dim, or a shorter one if the lights were super bright. Be ready and able to change the settings in the dark. Different ISO settings can be useful to get more or less sensitivity, beware going too high on the ISO because you’ll introduce grain to your images.
Once you’ve got the perfect aurora photo, you may want to post-process it. I took a minimalistic approach and adjusted as little as I possibly could to make my photos look as close to what I saw on the night as possible. So for my pictures I made a slight curves adjustment and, if required, adjusted the white balance so that the snow and sky were right colour. Occasionally I lightened the shadows slightly in the picture so that the foreground was brighter. Those were the only adjustments I made; I didn’t touch the exposure or saturation levels.
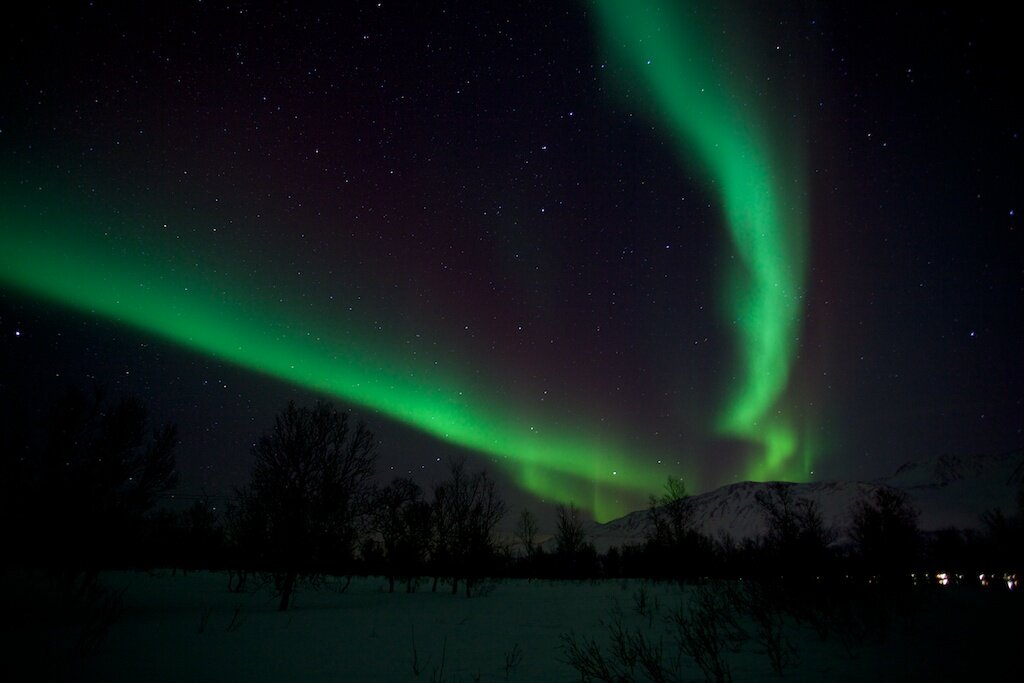
The aurora borealis over Arctic Norway, 2nd February 2014.
So those are the things I learned, and I hope they'll be useful.